Tag Archives: dessert

If you’re on Pinterest in September or October, it’s likely you’ll come across a few hundred Halloween recipes. While there are a variety of creepy, crawly treats to make for your kids or Halloween party guests, you can’t go wrong with a festive Halloween brownie. Add these black and orange cheesecake brownies to your spread along with other Halloween party recipes like graveyard dip and jack-o-lantern stuffed peppers.

Halloween Cheesecake Brownies brownie batter

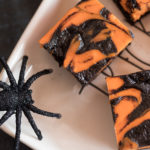
Cheesecake brownies are the best of both worlds. The sinfully rich chocolate brownie (dyed black, of course) on the bottom will satisfy any chocolate-lover’s sweet tooth this Halloween. The silky cheesecake top layer (dyed bright orange with food coloring) completes this Halloween dessert. It’s far better than any candy bar the kid’s bring home from trick-or-treating, trust us.

Halloween Cheesecake Brownies

Halloween Cheesecake Brownies

Make sure your Halloween party is heavy on the treats and not the tricks this Halloween and make homemade cheesecake brownies for the hungry ghouls and goblins at your house.

Halloween Cheesecake Brownies

Creepy Cheesecake Brownies for your Halloween Party
Votes: 0
Rating: 0
You:
Rate this recipe!
Print Recipe
Creepy Cheesecake Brownies for your Halloween Party
Votes: 0
Rating: 0
You:
Rate this recipe!
Print Recipe
Ingredients
Brownie Layer
Cheesecake Layer
Servings:
Units:
Instructions
  1. Heat oven to 325°F. Line a 9-inch baking pan with aluminum foil. Spray with nonstick cooking spray. Set aside.
  2. In a large bowl with an electric mixer on medium-high, beat butter and granulated sugar until blended, about 2 minutes.
  3. Beat in eggs, milk and vanilla until blended, about 1 minute. Gradually add flour, cocoa, salt and baking powder until blended, about 1 minute. Reserve 3/4 cup batter.
  4. Spread remaining batter into prepared baking pan.
  5. Meanwhile, using a hand or stand mixer with wire beaters on MEDIUM speed, beat cream cheese, granulated sugar, brown sugar and orange icing color until blended, about 2 minutes.
  6. Beat in sour cream and add 1 egg at a time until all eggs are mixed in and mixture is fluffy.
  7. Gently spread cream cheese mixture over brownie.
  8. Drop reserved brownie batter by spoonful onto cream cheese mixture. Using a knife, drag the tip of the knife through each drop of brownie to create a swirled design.
  9. Bake 40 to 45 minutes or until cheesecake is set.
Share this Recipe


Orange Meringue Cookies Dipped in Dark Chocolate

Meringues are magical, airy little desserts with stunning peaks. A good meringue is hard to beat. Literally. Do your biceps (and your dessert) a favour and use a stand mixer to whisk your egg whites to perfection. (HAMILTON BEACH’s 7 Speed Orbital Stand Mixer is our go-to). For this recipe, we decided to use orange extract to counteract the bitterness of the dark chocolate, but you can easily substitute for another extract like mint, lemon or go nuts with almond.

orange-meringue-recipe-baking-sheet

Meringue Ingredients:

· 4 Egg whites

· ½ Tsp Cream of Tartar

· ¼ Tsp salt

· 1 Cup Sugar

· ½ tsp vanilla extract

· 1 ½ tsp orange extract

· 1 Cup Dark chocolate chips

Pro Tip: Room temperature eggs will achieve greater volume.

orange-meringue-recipe-ingredients

Tools:

· 7 Speed Orbital Stand Mixer

· 14” piping bag

Pro Tip: Make sure your bowl is spotless. Any traces of grease or fat will prevent egg whites from getting stiff.

orange-meringue-recipe-hamilton-

Method:

1. Pre-heat your oven to 200 degrees Celsius.

2. Separate your eggs; you will only be using the whites for this recipe. Save the yokes in your fridge! They are great for making fresh pasta.

3. Place your egg whites and cream of tartar in your mixer and slowly increase speed.

4. Add 2 Tbsp of sugar at a time to the mixer, allowing time for the sugar to dissolve. You don’t want to have sugar granules in your cookies.

5. Your egg whites will start to thicken, and peak, as the sugar fully integrates.

6. Once your meringue has formed, and you have added all of the sugar, turn down the speed of your mixer and add your extract flavorings.

7. Line a baking sheet with two layers of parchment paper and fill your piping bag with your meringue.

8. Begin piping your meringue onto your lined baking sheet. You can pipe your cookies quite close together since they won’t expand while baking.

9. Once piped on your baking sheet, place in your oven and bake at 200 degrees Celsius for 1 hour.

10. After an hour, turn off your oven and leave your meringues in the oven to cool for an additional hour.

11. 15 minutes before your meringues are fully cooled, melt 1 cup of dark chocolate chips in a double boiler (or a heat resistant bowl over a pot of boiling water).

12. Take your cooled meringues and dip the bottom of your cookie in the melted dark chocolate and place back on your baking sheet to cool/dry.

orange-meringue-recipe-ingredients-final

Orange Meringue Cookies Dipped in Dark Chocolate


If you already plan on cooking your turkey in the roaster oven this Holiday season, plug it in a day or two early and get your baking out of the way before the big day.

Roaster Oven Cheesecake - Ergonomic Hand Mixer

That’s right – your trusted Hamilton Beach® Roaster Oven can do so much more than cook the bird. This year use it to make dessert.

This roaster oven cheesecake recipe proves the versatility of this appliance. It cooks to perfection and frees up the oven for more Turkey Day meal prep.

Roaster Oven Cheesecake

First, pour 3 quarts of hot water into the roaster oven insert pan. Cover the pan and heat to 325 degrees.

While the roaster oven is heating up, butter the bottom and sides of a 10-inch springform pan. Then sprinkle graham cracker crumbs evenly over the bottom and sides. Or try crushed up vanilla wafers for a twist on a classic. This is your cheesecake’s “crust.”

Roaster Oven Cheesecake

In a mixing bowl, beat 6 packages of room-temperature cream cheese. We’ve been using our Hamilton Beach® ErgoMix Hand Mixer all season long. The position of this mixer’s handle allows you to keep your elbow lowered and your wrist in a neutral position while mixing. Trust us, you’ll be way more comfortable during those holiday baking marathons.  Add sugar and beat until smooth, then slowly add the eggs. Pro tip: Let the eggs come to room temperature before beating them into your batter. Eggs beat to a greater volume if they’re at room temperature, leaving your cheesecake with a more uniform consistency.

Roaster Oven Cheesecake

Pour your batter into the springform pan then cover with aluminum foil. This protects the cheesecake from the condensation inside the roaster oven. The last thing you want is water dripping down onto your cheesecake while it bakes.

Roaster Oven Cheesecake with Caramel Topping

Carefully place the cheesecake on the rack then place rack back into the roaster oven. Bake for 1 ½ hours.

Roaster Oven Cheesecake with Caramel Topping

When the cheesecake is done, life the rack from the roaster oven and let cool (with the foil on) for 15 minutes.

Remove the foil then cool completely. Refrigerate for a few hours or, if you have the time, overnight.

Roaster Oven Cheesecake with Caramel Topping

The best thing about this recipe? You can make it a day or two ahead of time and have it waiting in the fridge. All you have to do day-of is add your toppings.

Roaster Oven Cheesecake with Cherry Topping

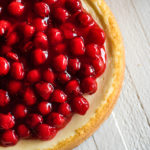
Want to dress up this cheesecake for your holiday or NYE party? Cover it with cherry pie filling or crushed candy canes. Bake this cheesecake and discover the versatility of your roaster oven.

How to Make a Cheesecake in your Roaster Oven
Votes: 0
Rating: 0
You:
Rate this recipe!
Print Recipe
Servings
14
Servings
14
How to Make a Cheesecake in your Roaster Oven
Votes: 0
Rating: 0
You:
Rate this recipe!
Print Recipe
Servings
14
Servings
14
Ingredients
Servings:
Units:
Instructions
  1. Remove rack in roaster oven. Pour 3 quarts hot tap water into insert pan. Cover and heat to 325°F. (Use 300°F for dark or nonstick coated pans.)
  2. Generously butter bottom and sides of a 10-inch springform pan. Sprinkle crumbs evenly over bottom and sides of pan.
  3. In a large mixing bowl at medium speed, beat cream cheese until smooth. Add sugar and continue to beat until smooth. Slowly add eggs. Beat until smooth. Stir in lemon juice and vanilla extract. Pour into prepared springform pan.
  4. Place pan on rack. Cover springform pan with aluminum foil. (This prevents condensation in roaster oven from dripping onto cake.) Carefully place rack and pan in roaster oven.
  5. Bake 1 1/2 hours. Carefully remove cheesecake by lifting rack and from roaster oven. Cool covered with aluminum foil for 15 minutes. Remove foil and cool completely. Refrigerate several hours or overnight. Top with cherry pie filling.
Share this Recipe


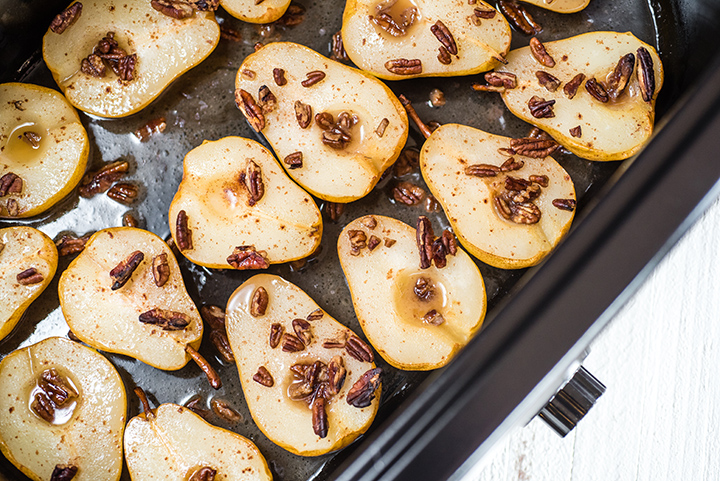
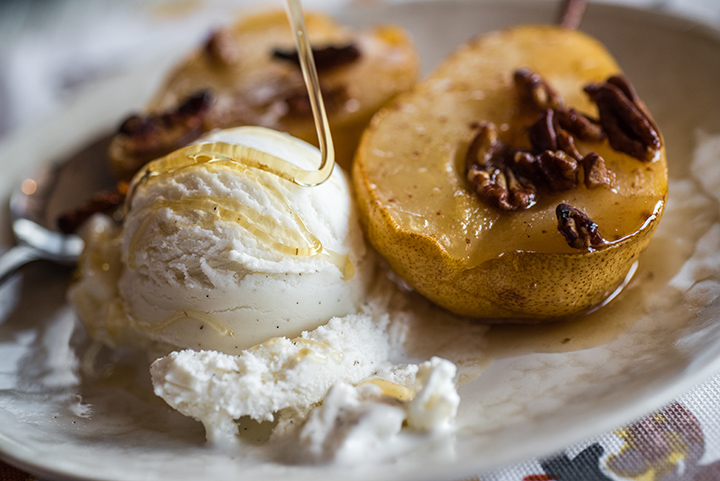
While it’s easy to get carried away with lattice pie crust and whipped cream, it’s nice to keep things simple in the dessert department. In this recipe, pears do all the talking. They are cooked in the Hamilton Beach® roaster oven with pecans and a mixture apple juice, brown sugar, butter, and cinnamon (Y.U.M). Serve this beautiful, no frills dessert at a fall dinner party or pear-ed with your after dinner coffee on special occasions.


Roaster Oven Pears with Pecans
Votes: 0
Rating: 0
You:
Rate this recipe!
Print Recipe
Servings
16
Servings
16
Roaster Oven Pears with Pecans
Votes: 0
Rating: 0
You:
Rate this recipe!
Print Recipe
Servings
16
Servings
16
Ingredients
Servings:
Units:
Instructions
  1. Heat roaster oven to 400°F.
  2. In a small saucepan over medium, stirring constantly, heat apple juice, brown sugar, butter and cinnamon about 2 to 3 minutes or until brown sugar is dissolved.
  3. Place pear halves skin side down in roaster oven. Pour apple juice mixture over pears. Sprinkle pecan pieces over pears.
  4. Cover and cook 25 to 30 minutes.
  5. Stir sauce in roaster pan and serve over pears with vanilla ice cream. Drizzle honey if desired.
Share this Recipe


I think it’s safe to say that the holiday season is the best time of year to satisfy your sweet tooth.  Whether you are drinking hot chocolate, partaking in an all-day cookie baking marathon (I wonder how much cookie dough I’ll eat between now and December 25th?), or snacking on red and green M&Ms, there are plenty of sweets to enjoy. It truly is the most wonderful time of the year.

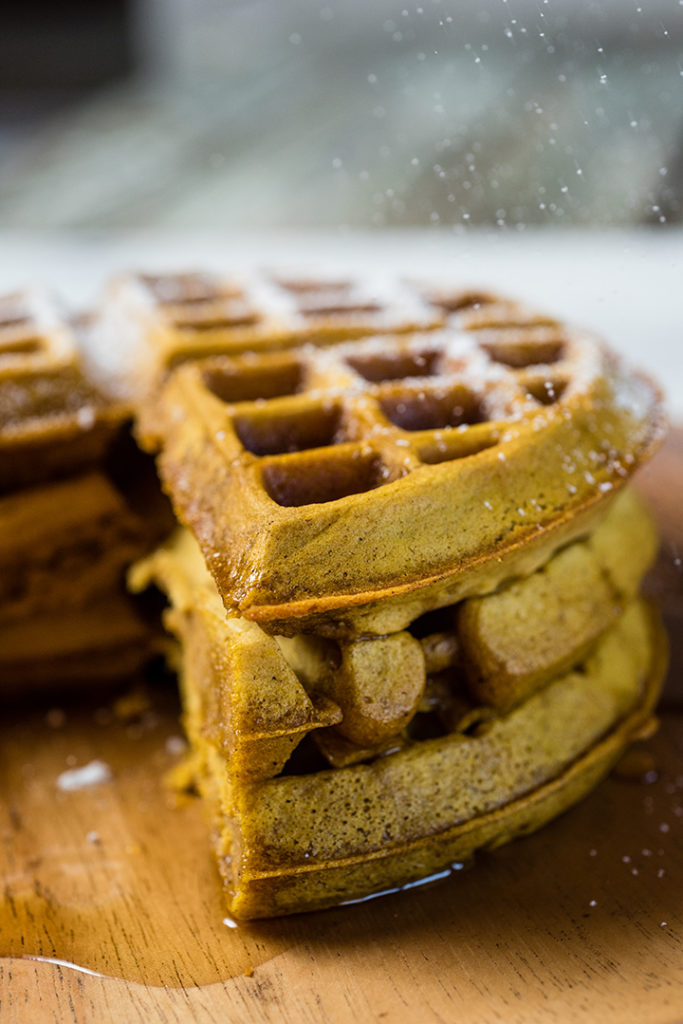
pumpkin-waffles-16


You can find me in the kitchen baking cookies, brownies, and pies throughout the holiday season. But the Test Kitchen wanted to add another sweet treat into the mix – fluffy, wonderful waffles. These holiday waffles are sure to satisfy your cravings for a little something sweet this holiday season, morning, noon and night.

Like pancakes, waffles are easily customizable. We loved the idea of combining some of our favorite holiday flavors in waffle batter and mixing up the holiday breakfast routine.

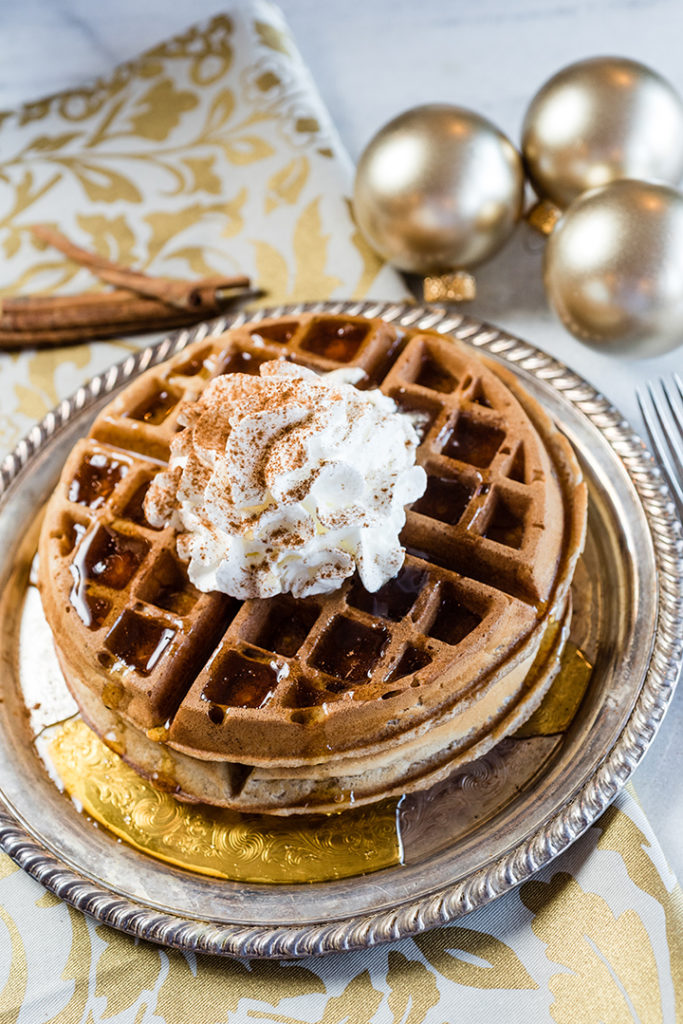
Top gingerbread waffles with a zesty lemon spread or a mound of whipped cream. Gingerbread and lemon is a combination that can’t be beat. Serve with your favorite gingerbread-flavored coffee for an extra seasonal breakfast.

gingerbread-waffles-11-1

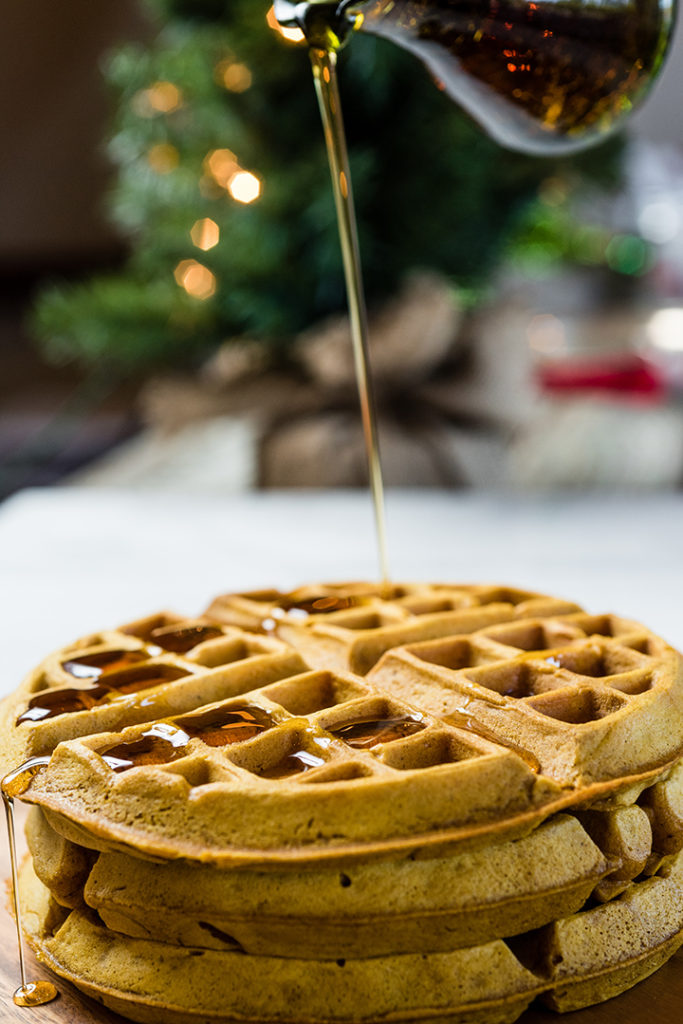
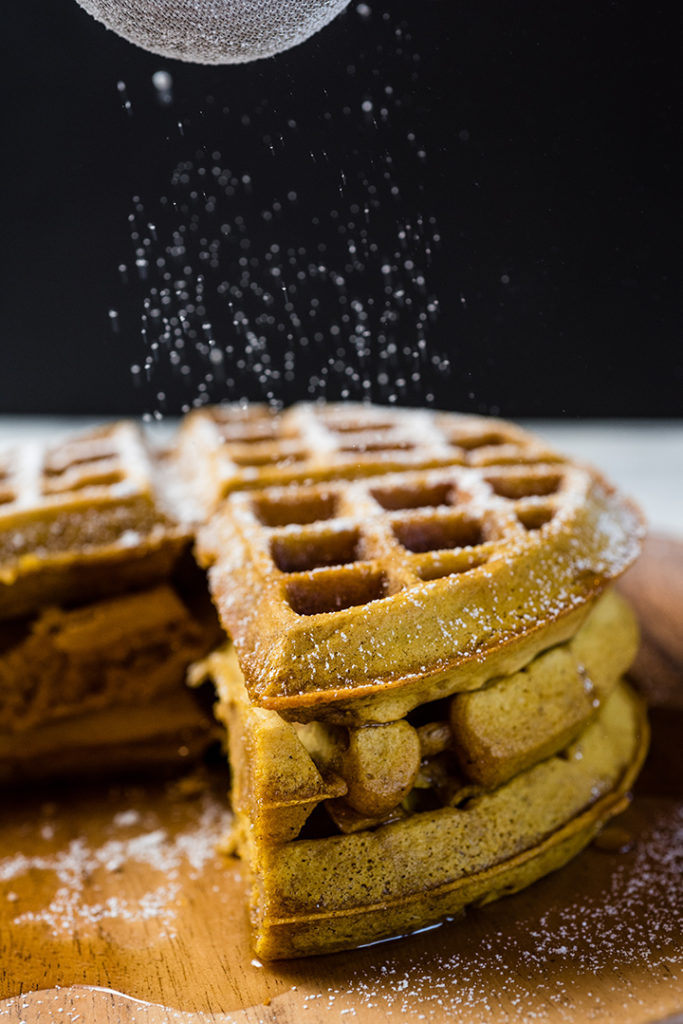
Our pumpkin spice waffles are wonderful during the fall and winter months when pumpkin-flavoured-everything invades grocery stores and restaurants. Highlight the cinnamon in the recipe by topping them with a cinnamon butter and your favorite maple syrup. Bonus points if you make your own pumpkin puree in the slow cooker.

pumpkin-waffles-9 pumpkin-waffles-23


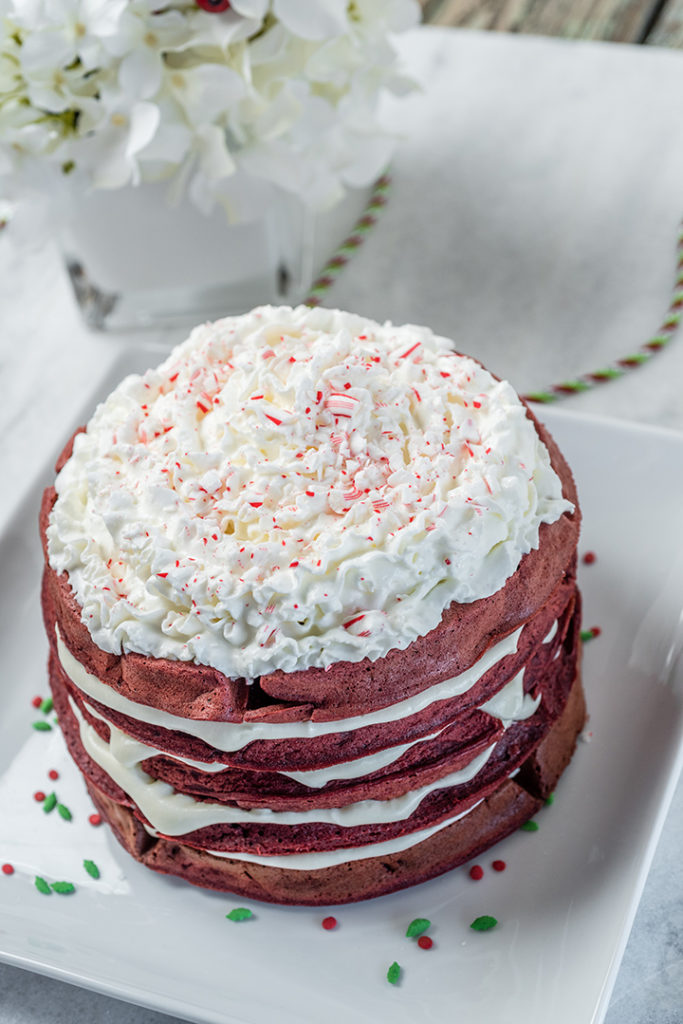
Finally, these red velvet waffles are colour-coded for the holidays. Skip the syrup and top these vibrant waffles with cream cheese icing (move over, cupcakes) or whipped cream for a decadent dessert waffle. Let the kids have fun covering theirs with red and green sprinkles. We highly recommend keeping this recipe in your back pocket until February and decorating these red waffles for your sweetie on Valentine’s Day.

red-velvet-waffles-5


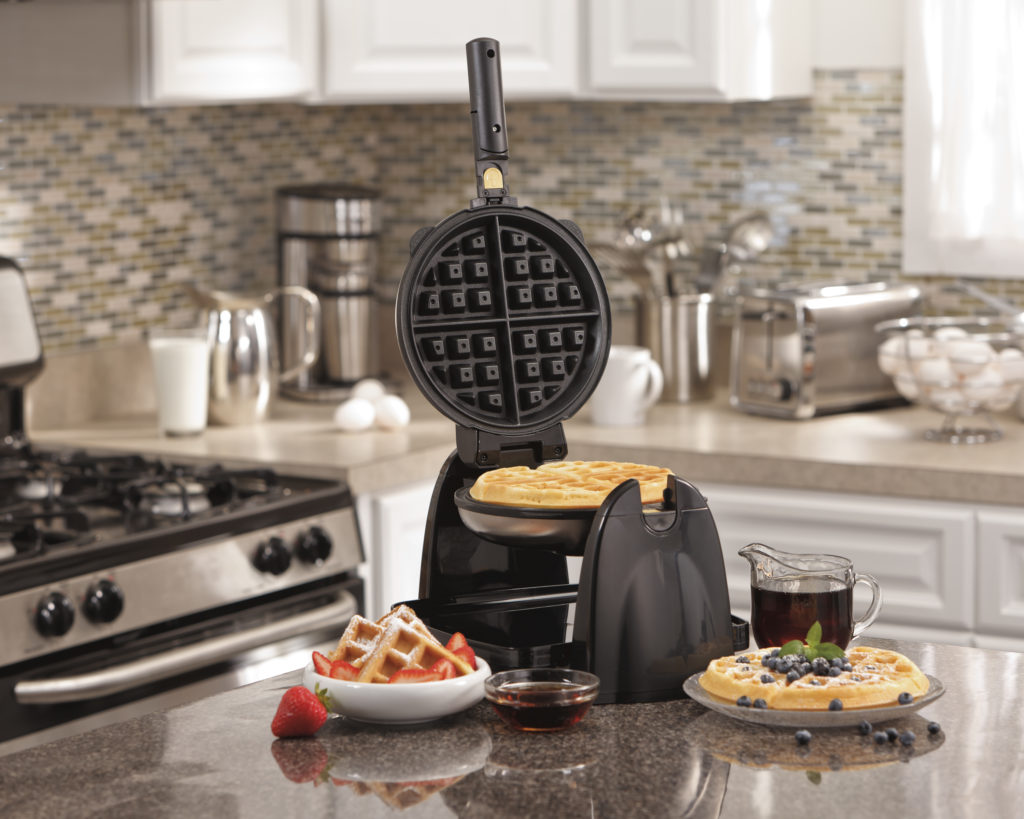
With an ultra flip design, this waffle maker expertly bakes golden brown, fluffy waffles and gives you total flipping control so you can create restaurant-quality results right at home.

26030-kitchen-2