Tag Archives: chocolate

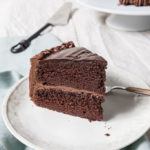
If you thought you were a fan of chocolate cake before, wait until you try this triple chocolate cake. After all, three layers of chocolate are definitely better than one. There’s no doubt about it.

Double Chocolate Cake

Start with two layers of freshly baked chocolate cake. Then make homemade chocolate frosting. Pipe the frosting on top of the bottom layer, then top with the remaining cake layer.

Double Chocolate Cake

Instead of topping the cake with the remaining frosting, make a simple ganache in your microwave. Add chocolate chips, heavy cream, and butter to a microwaveable bowl and microwave until the butter is melted. Remove from the microwave and stir until the mixture is smooth, shiny, and pourable. How easy is that?

Double Chocolate Cake

Top the cake with this delicious ganache and spread to the edges. Then pipe the remaining frosting around the cake.

Double Chocolate Cake

Want an ultra-rich chocolate cake? Our Test Kitchen adds a little bit of coffee to the cake batter. Coffee doesn’t leave you with a coffee or mocha flavored cake, but rather enhances the chocolate flavor. If you’ve never tried adding it before, it’ll be love at first bite.

Double Chocolate Cake

Serve this decadent cake at celebrations throughout the year – with champagne and strawberries on Valentine’s Day, on Father’s Day to those dads with a sweet tooth, or for any chocolate-lover’s birthday. No matter the occasion, there’s always a reason to bake with a little love and a lot of chocolate.

Triple Chocolate Cake
Votes: 0
Rating: 0
You:
Rate this recipe!
Print Recipe
Servings
16
Servings
16
Triple Chocolate Cake
Votes: 0
Rating: 0
You:
Rate this recipe!
Print Recipe
Servings
16
Servings
16
Ingredients
Servings:
Units:
Instructions
  1. Heat oven to 350°F. Line the bottoms of two 9-inch baking pans with parchment paper and dust sides with flour.
  2. In a small bowl, stir together flour, cocoa, baking soda and salt.
  3. In a large mixer bowl with stand mixer on medium speed, beat eggs, sugar and butter, about 1 minute or until well blended. Reduce to low speed. Gradually beat in coffee, milk, vinegar and vanilla until well blended.
  4. Gradually add flour mixture, about 1 minute or until blended.
  5. Bake 25 to 30 minutes or until toothpick inserted in center comes out clean.
  6. Cool on wire racks 10 minutes. Remove from pans; cool completely on wire racks.
  7. Meanwhile, prepare Chocolate Frosting: https://www.hamiltonbeach.com/chocolate-frosting
  8. Place one cake layer on serving plate and top with ¾ cup frosting. Top with remaining cake layer.
  9. In a small microwavable bowl, add chocolate chips, heavy cream and butter.
  10. Microwave on MEDIUM power until butter is melted and heavy cream is warm. Stir until mixture is smooth, shiny and pourable. Pour over only top of cake and smooth to edge.
  11. Spread or pipe remaining frosting around side of cake.
Share this Recipe


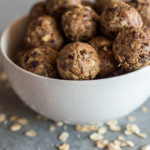
Do you ever have days when you feel like you just can’t wake up? That feeling that no second snooze button push or third cup of coffee can alleviate? If you’re having trouble getting through the morning or afternoon, pop one of these no-bake energy bites in your mouth for a little boost.


These little balls of energy come together in no time in your Hamilton Beach® food processor. They’re made with ingredients you likely already have in the pantry and are ready with the push (or in this case pulse) of a button.

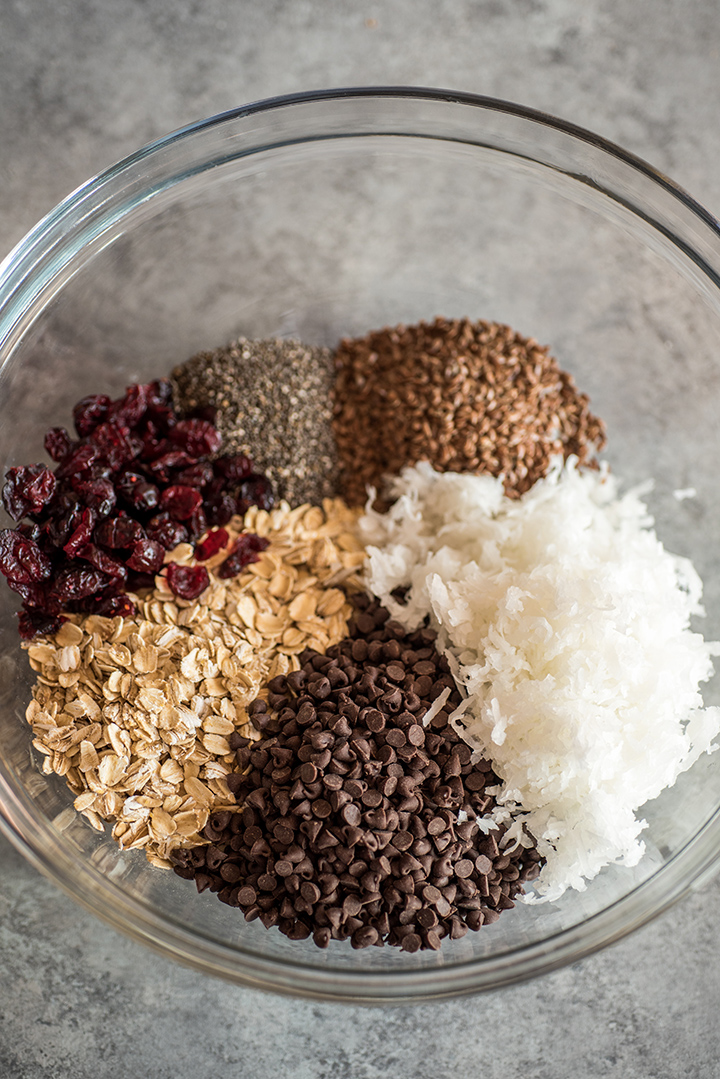
Using a food processor fitted with the mixing/chopping blade, add old fashioned oats, flax seeds, and chia seeds through the food chute with the appliance running. Process until the mixture is well blended, then transfer to a large bowl and add vanilla whey protein powder.


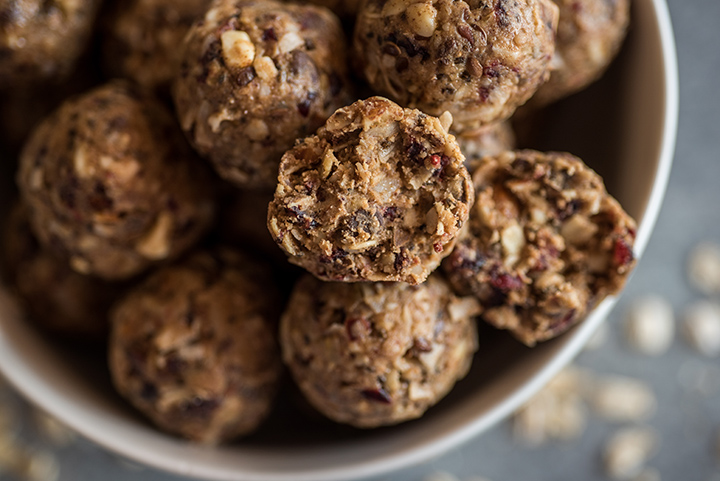
Using your food processor again, add dried cranberries and almonds through the food chute and pulse until the mixture is finely chopped. Add the cranberry mixture to the same bowl as the oat mixture. Then add the remaining ingredients – coconut, mini chocolate chips, almond butter, and vanilla extract. Stir until until the ingredients are combined. The almond butter not only adds a little bit of sweetness and extra protein, it’s the glue that helps these little bites hold their shape.

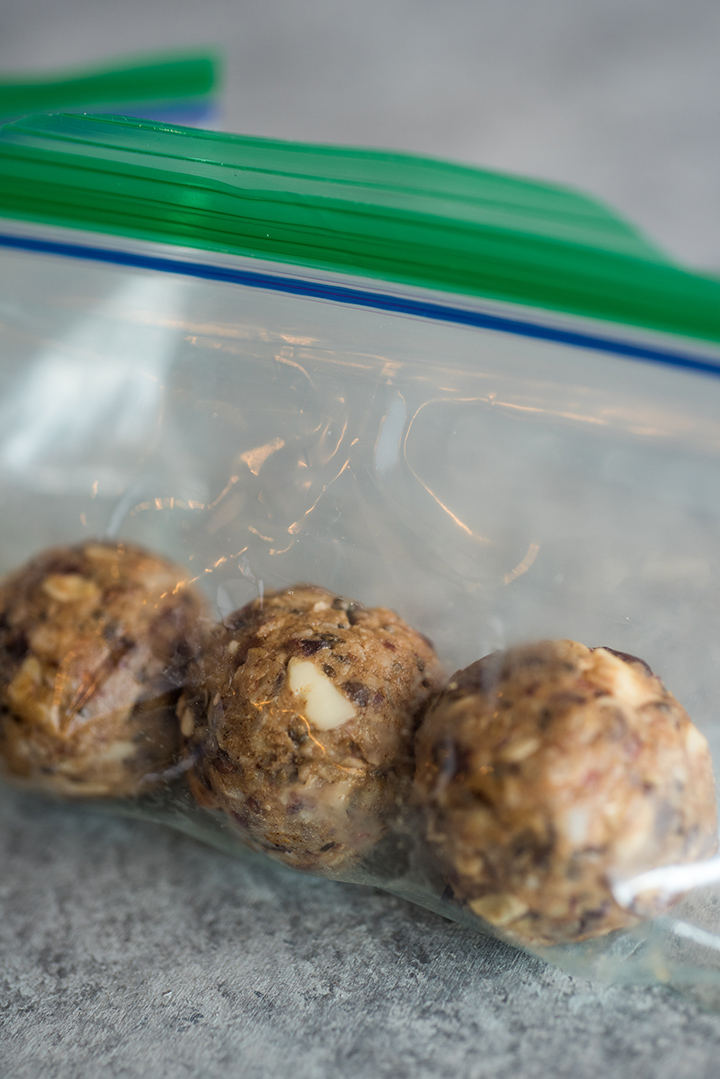
Now for the fun part. Let the kids get in on the action and roll the mixture into balls. Enjoy a few on the spot or put some in a freezer-safe bag for later. They’ll defrost during the day and be waiting for you when that 2:30 feeling hits.


Cranberry No-Bake Energy Bites
Votes: 0
Rating: 0
You:
Rate this recipe!
Print Recipe
Servings
28
Servings
28
Cranberry No-Bake Energy Bites
Votes: 0
Rating: 0
You:
Rate this recipe!
Print Recipe
Servings
28
Servings
28
Ingredients
Servings:
Units:
Instructions
  1. Using a food processor fitted with mixing/chopping blade, with food processor running, add old fashioned oats, flaxseed and chia seeds through food chute. Process until oats mixture is chopped and blended. Transfer mixture to a large bowl. Stir in protein powder.
  2. Using food processor again, add dried cranberries and almonds through food chute. Pulse until mixture is finely chopped. Add cranberries and almond mixture to the oat mixture.
  3. Add coconut, mini chocolate chips, almond butter and vanilla extract. Stir until thoroughly mixed. Roll into 1-inch balls. Store in an airtight container.
Share this Recipe


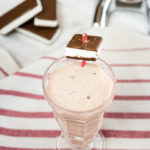
Do you like ice cream sandwiches? What about milkshakes? We put two these two summer favourites together to make an Ice Cream Sandwich Milkshake.

Three scoops of your favourite vanilla ice cream, ½ cup of milk, 1 tablespoon of Nutella or hot fudge sauce (or both. Why not?) and one ice cream sandwich broken into small pieces goes into the drink mixer to make this over-the-top milkshake.

This shake tastes exactly like an ice cream sandwich. And to make it that much better, we garnished it with a mini ice cream sandwich (we just cut an extra ice cream sandwich into squares with a sharp knife).  There’s no wait for the ice cream truck when you can make this in your drink mixer now.


Ice Cream Sandwich Milkshake
Votes: 0
Rating: 0
You:
Rate this recipe!
Print Recipe
Servings
1
Servings
1
Ice Cream Sandwich Milkshake
Votes: 0
Rating: 0
You:
Rate this recipe!
Print Recipe
Servings
1
Servings
1
Ingredients
Servings:
Units:
Instructions
  1. Place all ingredients into stainless steel mixing cup of the drink mixer.
  2. Process until desired consistency is reached.
  3. Garnish with additional ice cream sandwich pieces
Share this Recipe


Nutella Raspberry Valentine’s Day Pizza from Everyday Good Thinking by @hamiltonbeach

Valentine’s Day is right around the corner, and when you think of who and what you love, many things probably come to mind. It might be your kids or your spouse, maybe your dog or new job. Or maybe it’s champagne and raspberries and the creamy, chocolaty decadence of warm Nutella desserts. Just me? I love Valentine’s Day because behind all the cheesy cards and coworkers’ rose bouquets is a chance to spend some time with the one you love. It’s also a great excuse to be a little extravagant and savor rich desserts like this Nutella dessert pizza.

Nutella Raspberry Valentine’s Day Pizza from Everyday Good Thinking by @hamiltonbeach

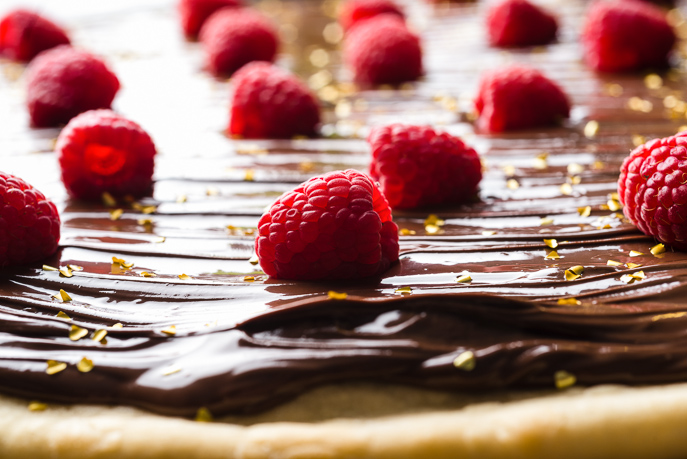
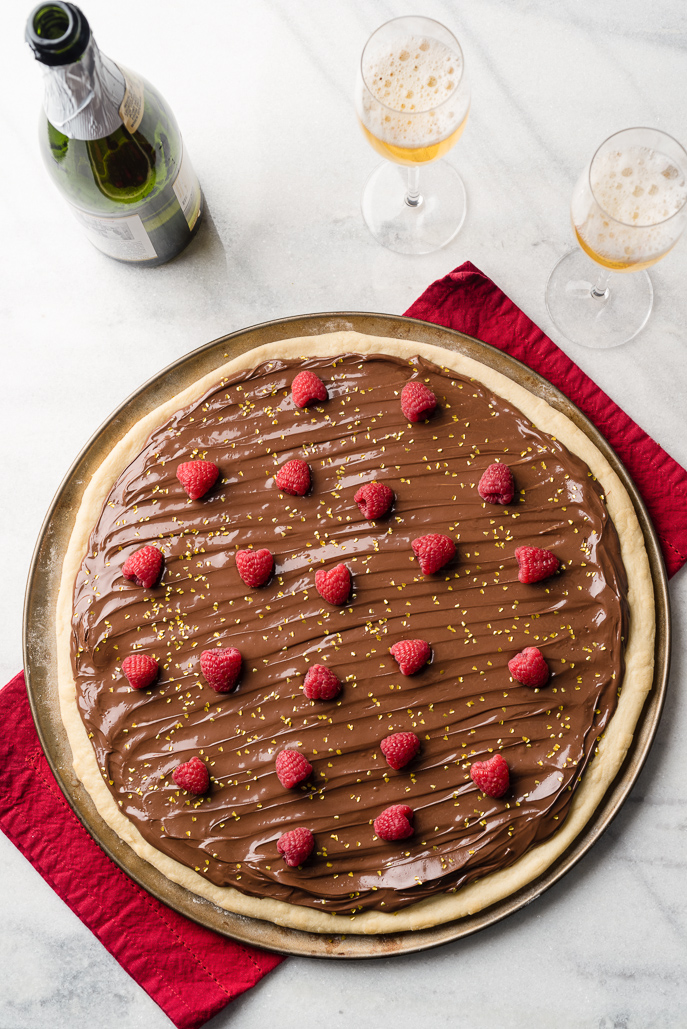
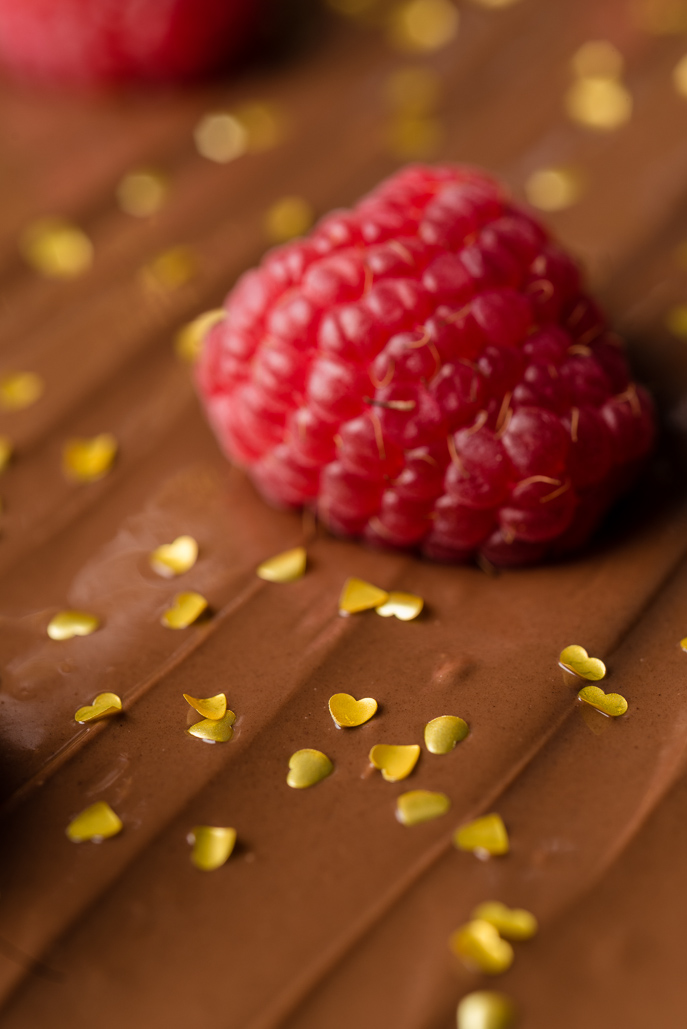
Instead of a little cookie or a cupcake, we opted for a large pizza with a made-from-scratch crust. It’s topped while warm so the hazelnut spread glides over every bump with ease, and then it’s topped with fresh raspberries and gold flecked hearts. You can substitute strawberries, pomegranate seeds or any other berry – or make it kid friendly and let them decorate it with colorful sprinkles. No matter how you top it, this rich Nutella and raspberry dessert pizza is guaranteed to win some hearts on Valentine’s Day.

Nutella Raspberry Valentine’s Day Pizza from Everyday Good Thinking by @hamiltonbeach

Nutella Raspberry Valentine’s Day Pizza from Everyday Good Thinking by @hamiltonbeach
Nutella Raspberry Valentine Pizza
Votes: 0
Rating: 0
You:
Rate this recipe!
Print Recipe
Servings
8
Servings
8
Nutella Raspberry Valentine’s Day Pizza from Everyday Good Thinking by @hamiltonbeach
Nutella Raspberry Valentine Pizza
Votes: 0
Rating: 0
You:
Rate this recipe!
Print Recipe
Servings
8
Servings
8
Instructions
  1. Preheat oven to 475°F. Place Homemade Pizza Dough on floured counter and let the dough rest for 10 minutes.
  2. Shape into 16-inch round pizza pan. Bake 20 to 25 minutes or until crust is lightly browned. It may puff up while baking. If desired, line dough with nonstick foil and weigh down with pie weights.
  3. Top pizza crust with desired amount of Nutella® hazelnut spread. Top with fresh berries and decorate as desired.
Share this Recipe